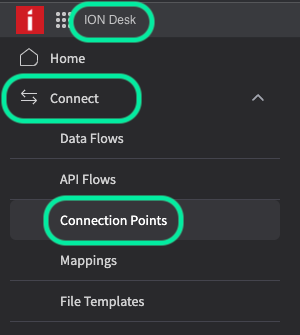
In Infor, open the ION Desk application. In the left tab, go to Connect → Connection Points
This is where you will create the connection point needed to import your data from M3 that is required for Auto Accounting.
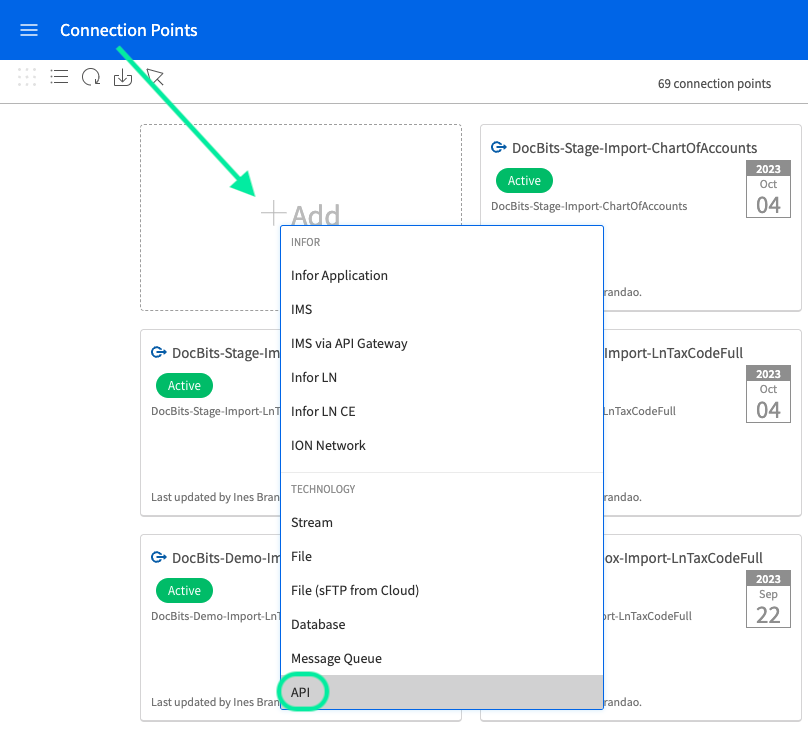
Click on “+ADD” to create a new connection point, select the API option like below
You will need to configure API connection point called:
ChartOfAccounts
ChartOfAccounts
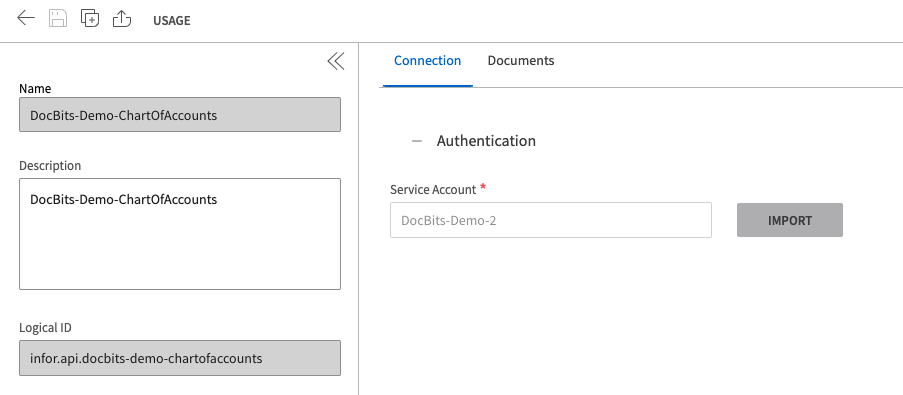
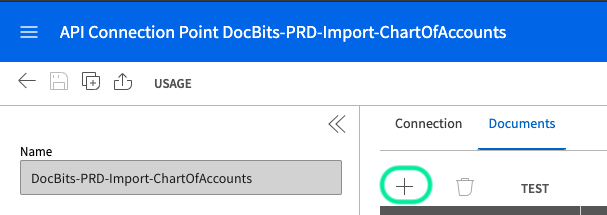
The connection tab for your ChartOfAccounts connection point should look similar to what is illustrated below. Give the connection point an appropriate name and description, as well as import the Service Account you created.
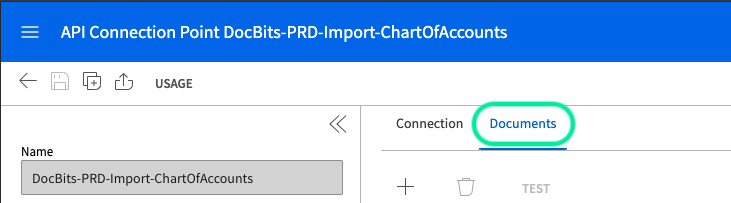
You will need to add two BODs in this section for this connection point. These being Sync.ChartOfAccounts and Sync.CodeDefinition, to add these BODs do the following:
Sync.ChartOfAccounts
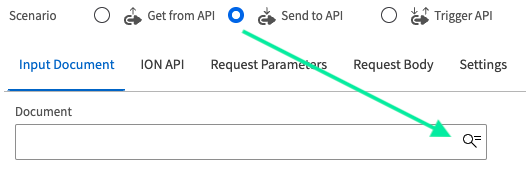
Click on the PLUS (+) icon
Select “Send to API”
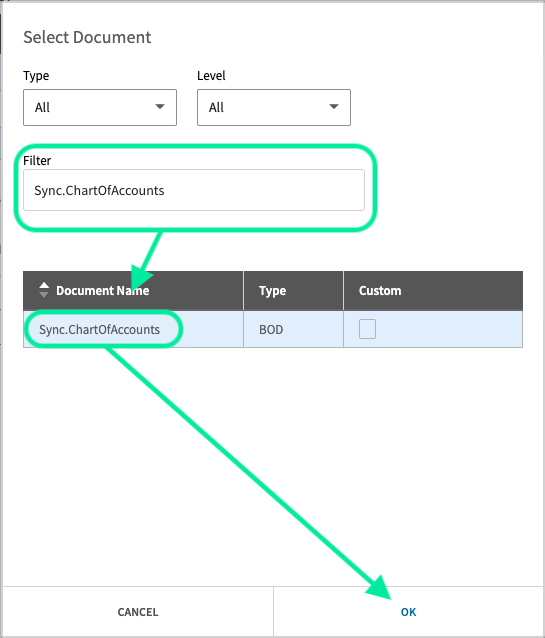
Search for the Sync.ChartOfAccounts BOD
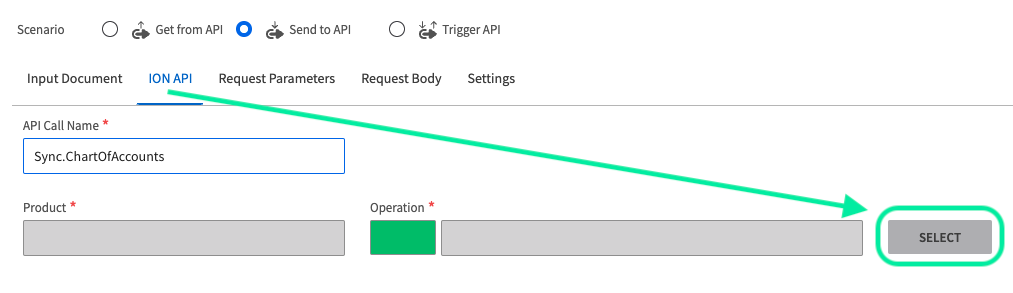
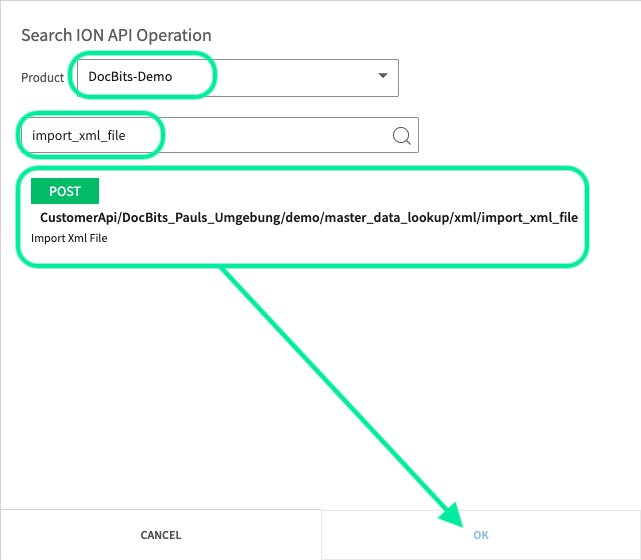
Switch to the ION API tab, copy the API name and search for the API Call by pressing the SELECT button
At product, select the API Endpoint that you created for the environment you are working with, which you created in ION API. Search for the following API call, select the API call and press OK.
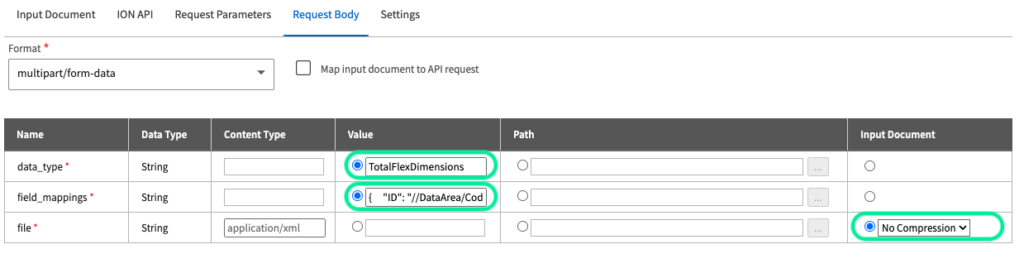
Next, switch the Request Body tab
Here is where you will configure the field mapping for this BOD, your configuration should look like the following. The field mappings are available here.
Once you have completed the above steps, you will have successfully configured the Sync.ChartOfAccounts BOD. Click on the PLUS icon to add the next and final BOD.
Sync.CodeDefinition
The connection tab for your CodeDefinition connection point should look similar to what is illustrated below. Give the connection point an appropriate name and description, as well as import the Service Account you created.
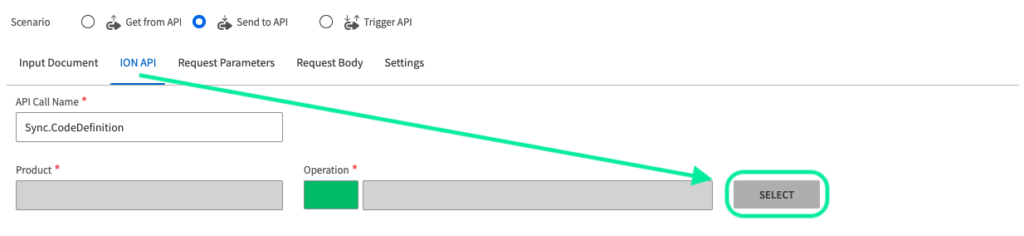
Select “Send to API”
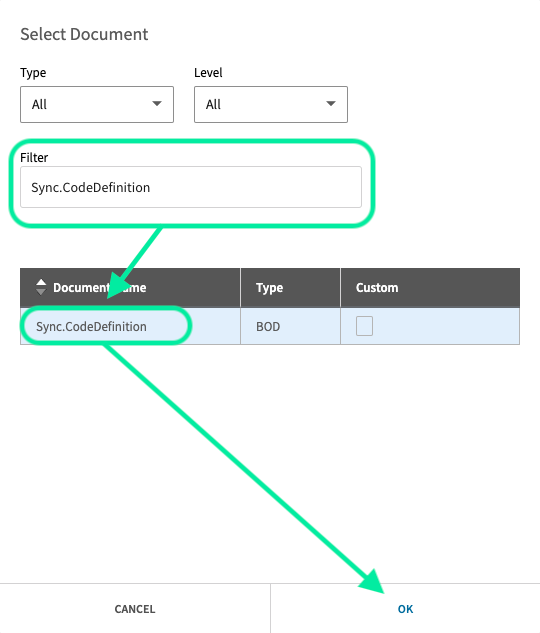
Search for the Sync.CodeDefinition BOD
Switch to the ION API tab, copy the API name and search for the API Call by pressing the SELECT button
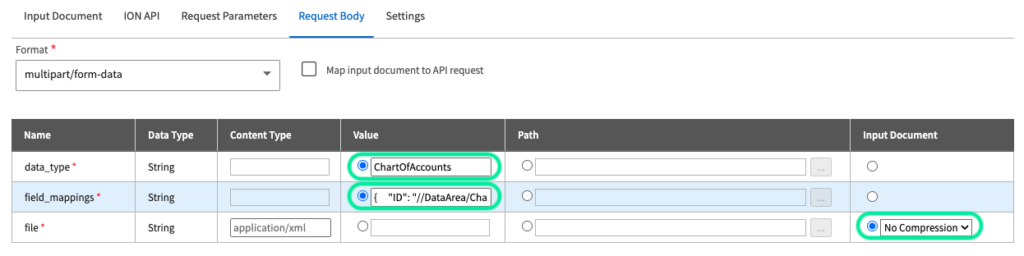
Next, switch the Request Body tab
Here is where you will configure the field mapping for this BOD, your configuration should look like the following. The field mappings are available here.
Once you have completed the above steps, you will have successfully configured the Sync.CodeDefinition BOD for the M3FlexDimensions master data table.
Data Flow
You will need to configure the following data flow for Auto Accounting:
ChartOfAccounts
ChartOfAccounts
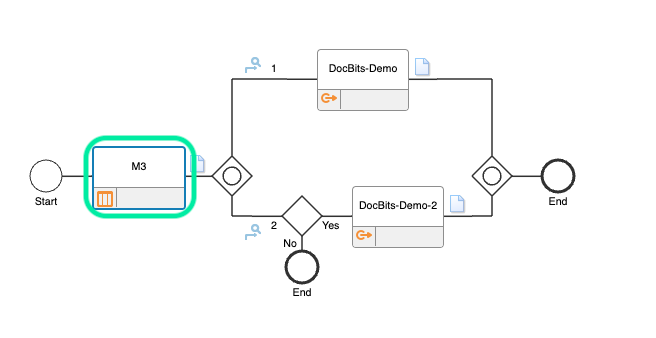
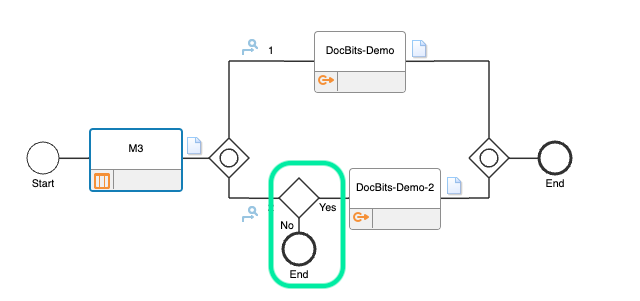
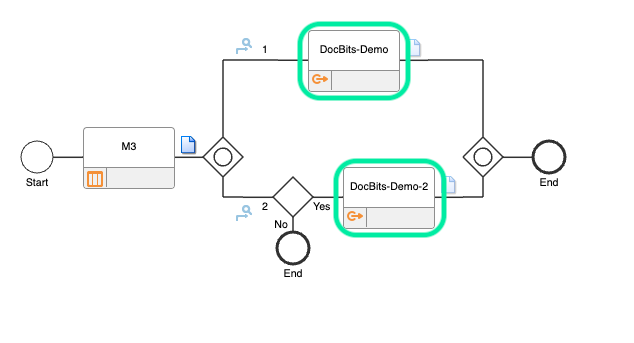
An overview of this data flow looks as shown below (the amount of DocBits API connection points at the end depends on the amount of different environments you are configuring).
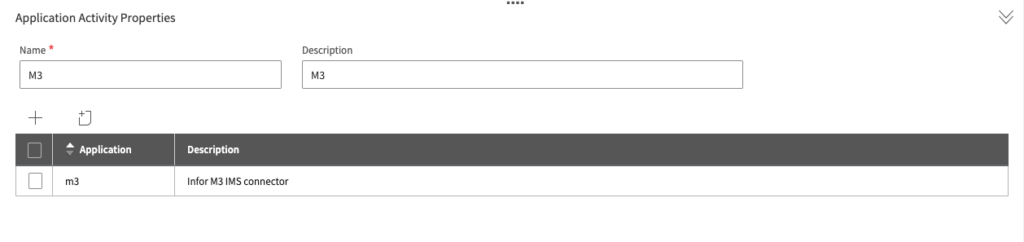
M3 Company
The configuration for this connection point depends on the M3 company which contains the master data you wish to import into DocBits, yours should look similar to what is shown below.
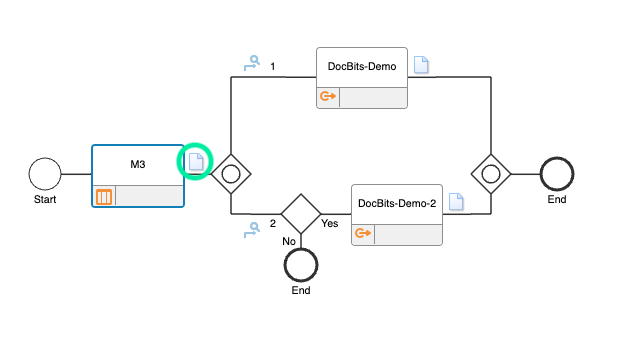
Documents
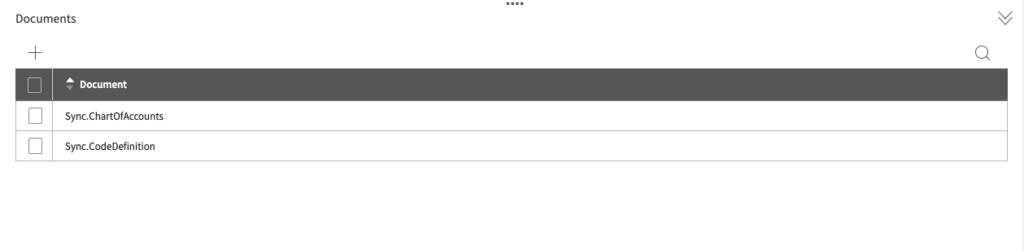
The following documents need to be added to the data flow:
Sync.ChartOfAccounts
Sync.CodeDefinition
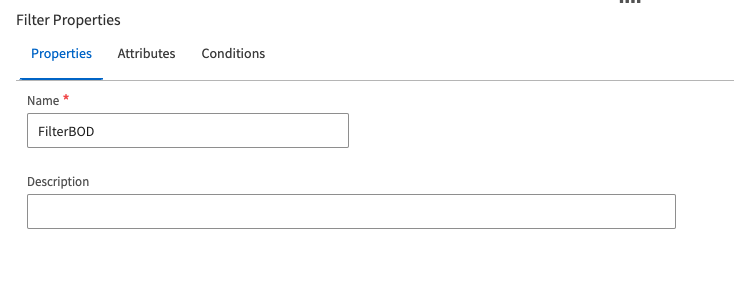
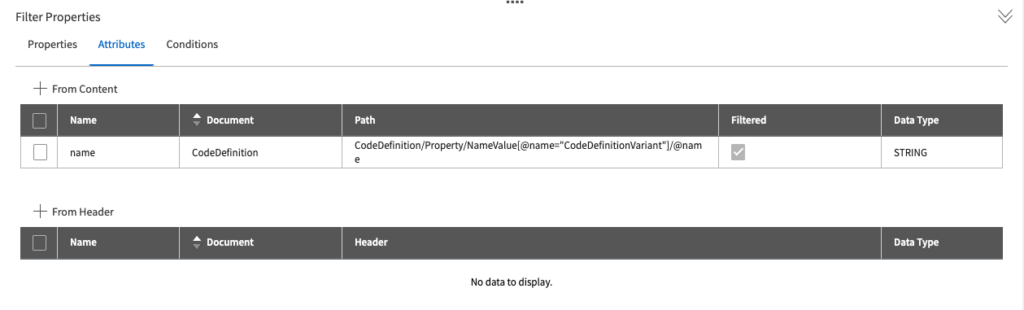
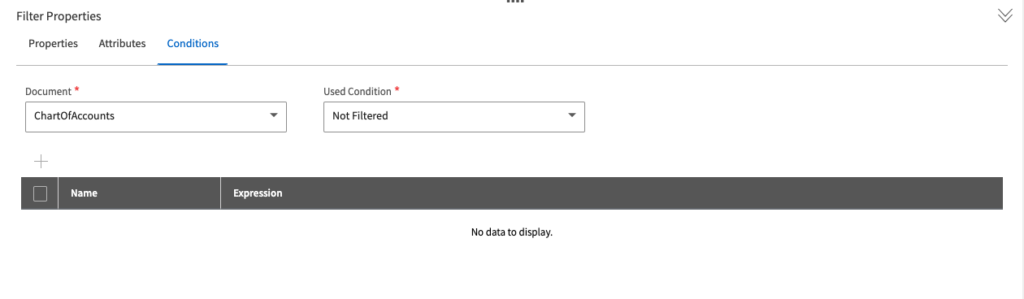
Filter
For the second route of the dataflow (according to the routing in the data flow), we apply a filter with the following configuration.
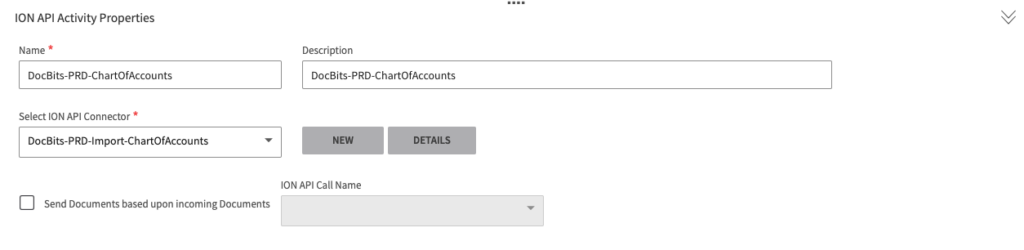
DocBits (ChartOfAccounts)
This is where you add the ChartOfAccounts API connection point which you created earlier, the configuration for this should look similar to this
BOD Triggering
Once all the above is completed, you will need to navigate to Infor M3 and trigger the BODs in order for the various master data you need for Auto Accounting to arrive in DocBits.
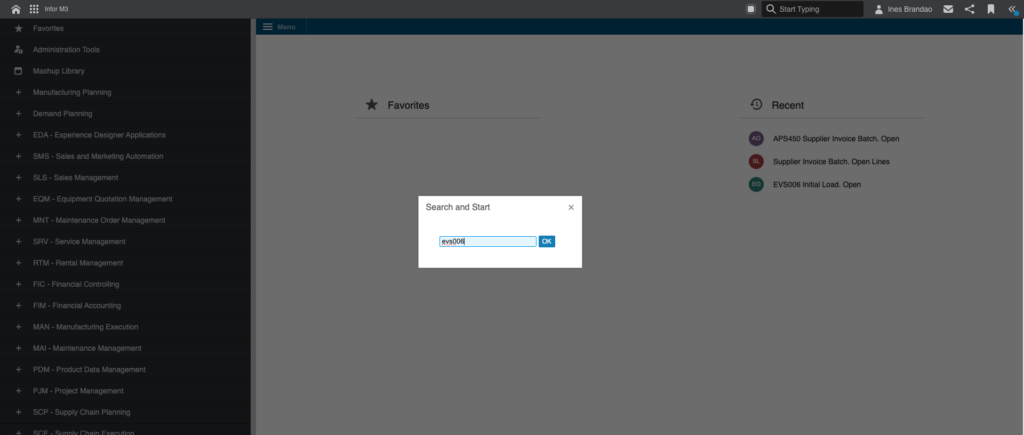
Start by pressing Command + r, to open the prompt menu, type “evs006” and press enter.
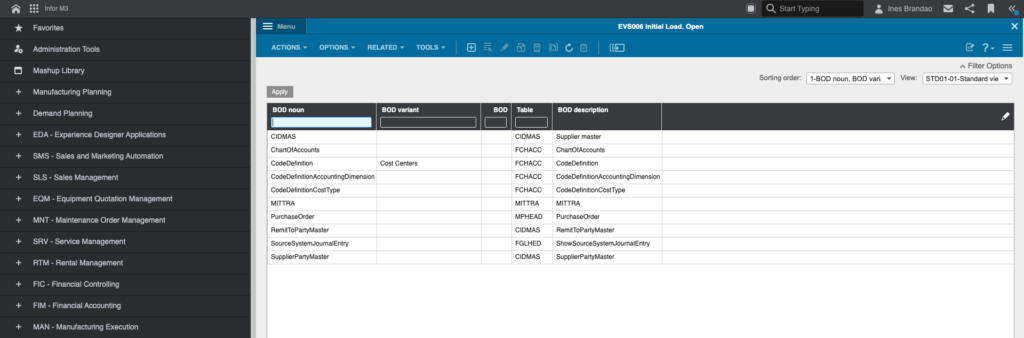
The following menu will be displayed to you
To add the various BODs you will need to enter the BOD nouns and Table names for each BOD individually.
The BODs you need to add include:
ChartOfAccounts
CodeDefinition
CodeDefinitionAccountingDimension
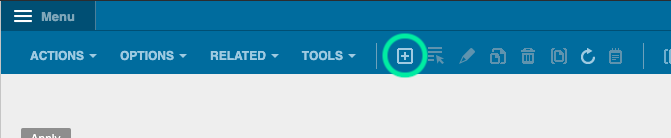
To add the new BOD after, after entering the BOD Noun and Table Name, press the pLUS icon indicated below
The BOD nouns and Table names are as follows.
ChartOfAccounts
BOD Noun: ChartOfAccounts
Table Name: FCHACC
CodeDefinition
BOD Noun: CodeDefinitionAccountingDimension
Table Name: FCHACC
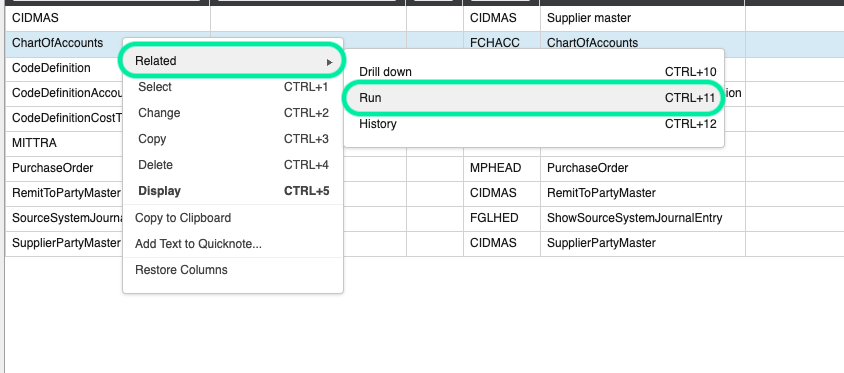
Publish BODs
After adding each BOD, right click on the BOD you added, select Related and then Run.
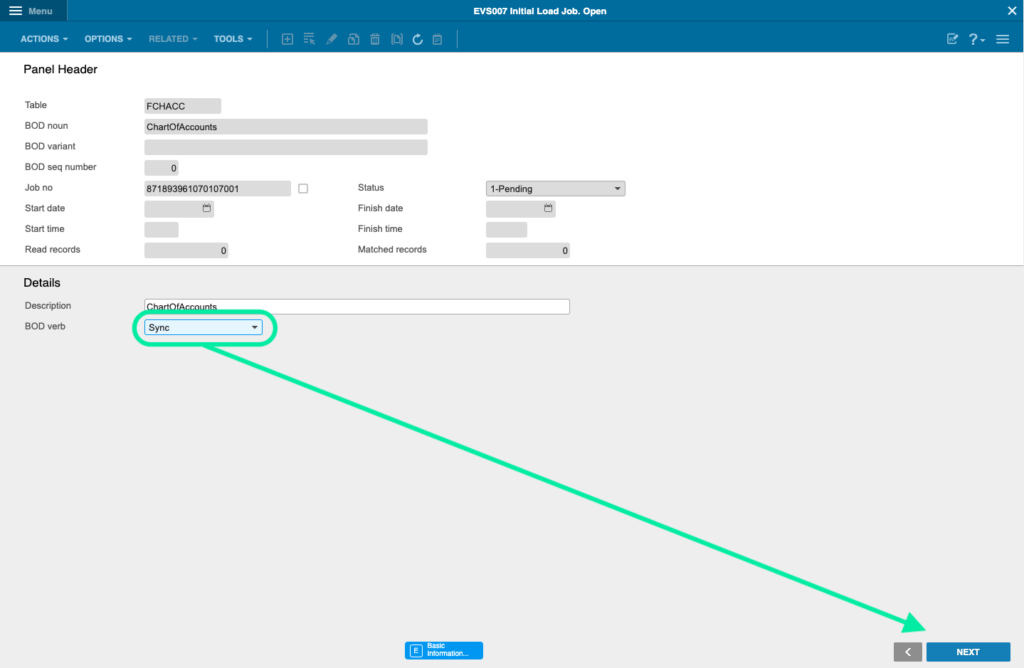
You will be taken to this screen.
Change BOD Verb to “sync” and press NEXT.
Once you press NEXT, you will get a notification indicating that the BOD publishing process has begun.
CostingElement
In order to import the m3costingelement table into DocBits, you need to do the following.
From the M3 Homepage, type Command + r and search the “PPS280” prompt.
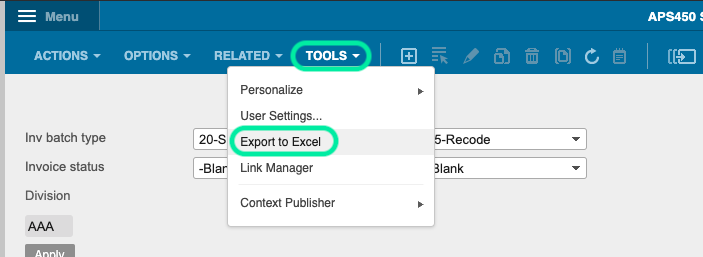
Select any of the lines displayed to you. On the next menu, select TOOLS and “Export to Excel”
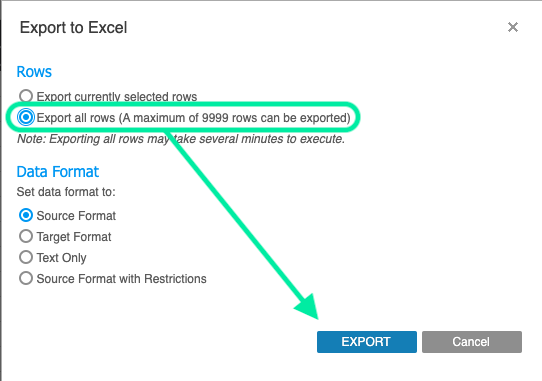
Select “Export all Rows” and then press EXPORT.
Once downloaded, you will need to alter the excel file before converting it into a CSV file.
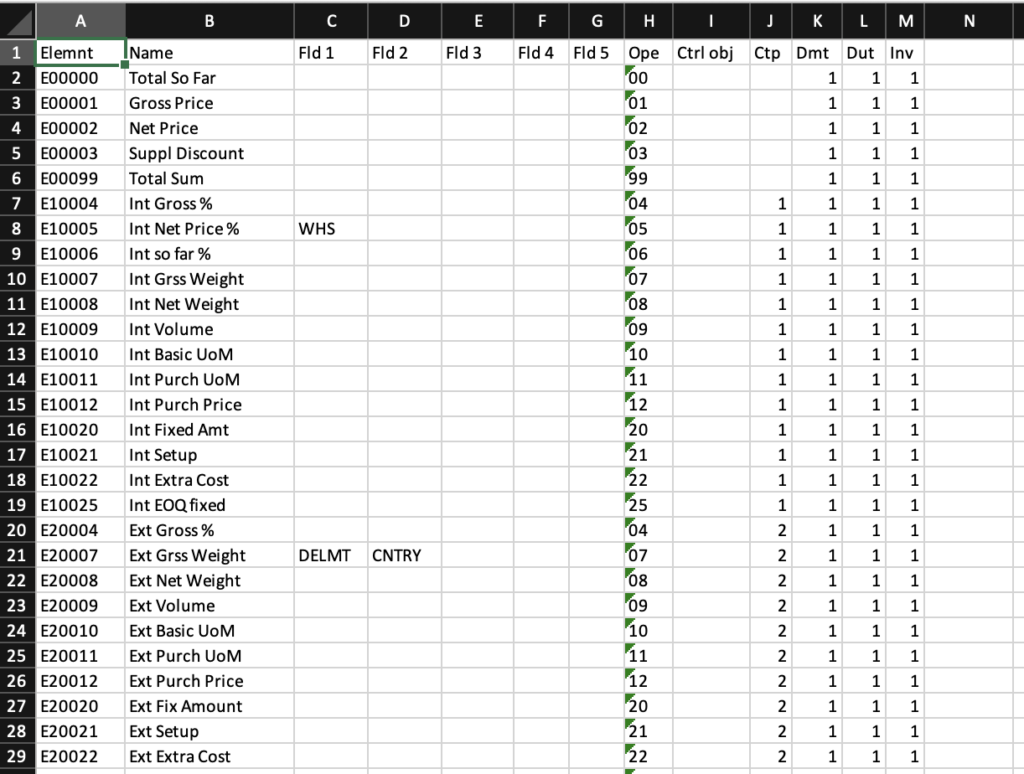
You will need to open the excel file, it will look similar to what is shown below.
From this excel sheet you only need the first 2 columns, alter the excel sheet so that the end result looks as follows.
Once this is done, save the file as a CSV.
Once you have your CSV file, go to this webpage the following webpage. This depends on which environment you are using:
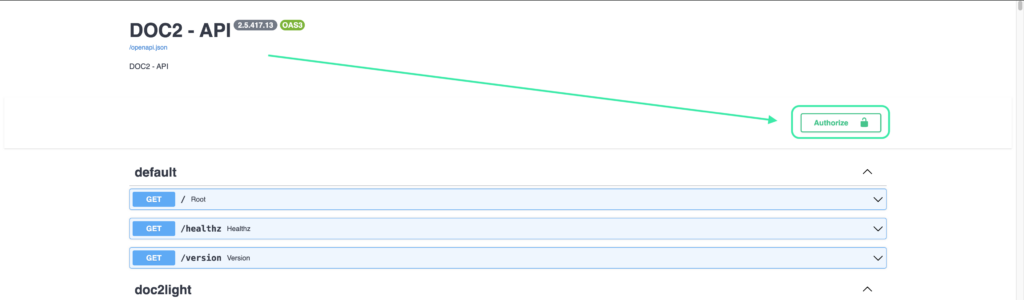
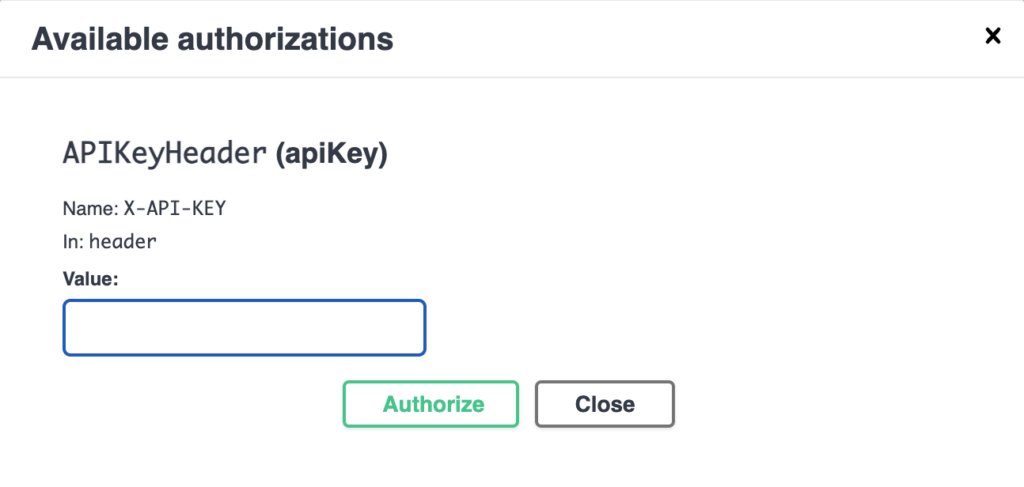
Here you will manually upload the costingElement table via an API. Click on the Authorise button.
Here you will need to insert the API Key from your DocBits environment. This is located in Settings under Integration.
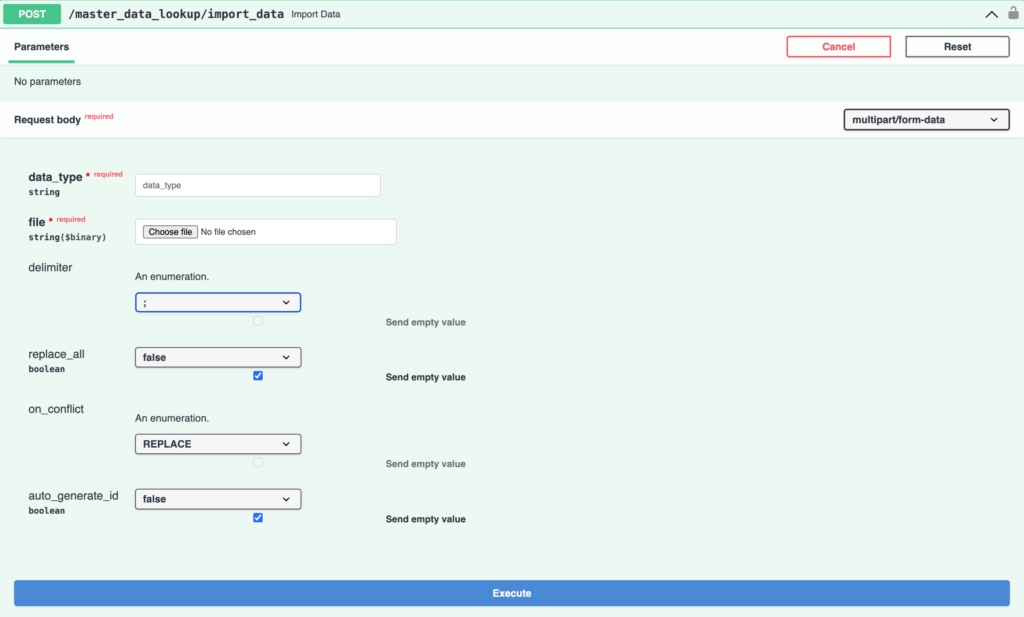
Once complete, search for the API called master_data_lookup/import_data and fill in the required information. Once complete, click EXECUTE to trigger the API.
If done correctly, the M3CostingElement table should now be in your DocBits environment. Auto Accounting for M3 has now been configured for your environment. For more information on this feature, click here.