From the Dashboard, navigate to WORKFLOW.

From here you have the options of:
Searching for workflow you have already created


Click on + ADD WORKFLOW

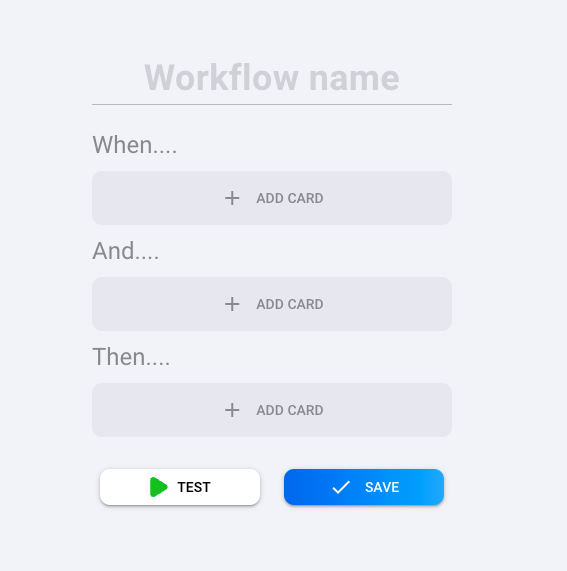
You will be taken to the menu below, here is where you will add all the details of your new workflow.

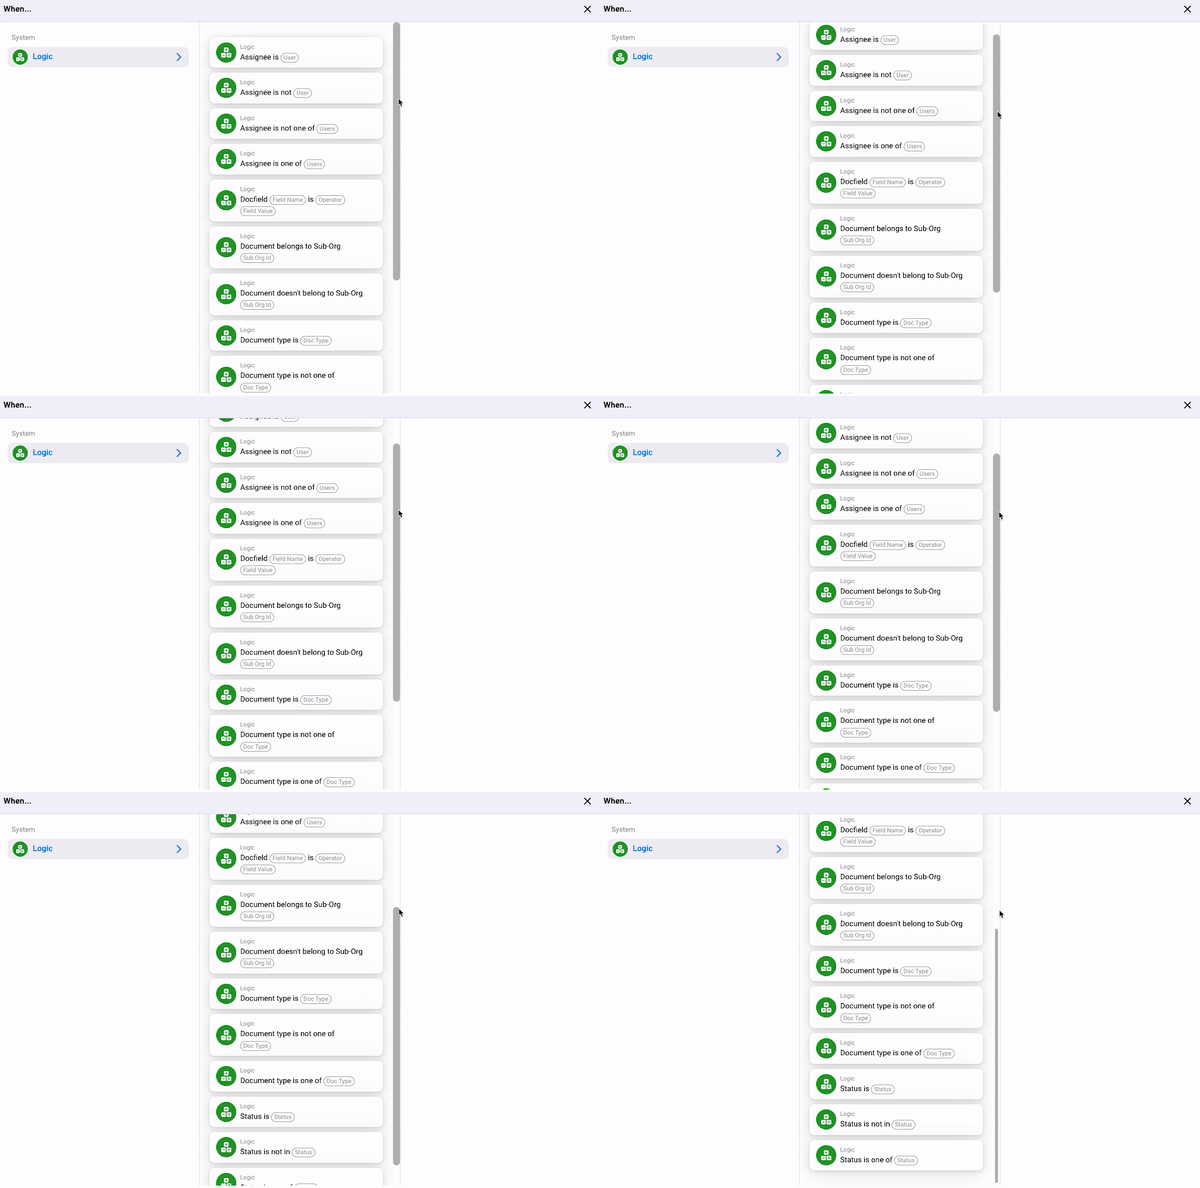
In this section of the workflow configuration you establish what the trigger(s)for the workflow as a whole will be be. We provide you with a list of options, as indicated below, in order to simplify the process.

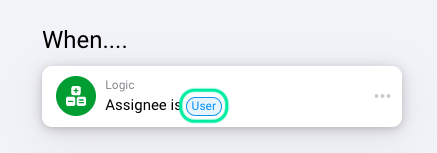
For example, let’s say you select the first option of “Assignee is USER” which indicates that the workflow will start for that specific document when a specific user is assigned to a document. To select the user, click of the USER bubble.

A list of all users in your organisation will appear, select the user you wish to choose for this workflow.
This section of the workflow configuration gives you the same options as the WHEN section, however, it allows you to add additional requirements for the workflow to be triggered. You may add as many requirements as you would like, making the workflow very customisable.
In this section, you will configure the actions that will take place once the requirements you configured in the WHEN and AND sections have been met. Like the AND section, multiple responses can be configured.

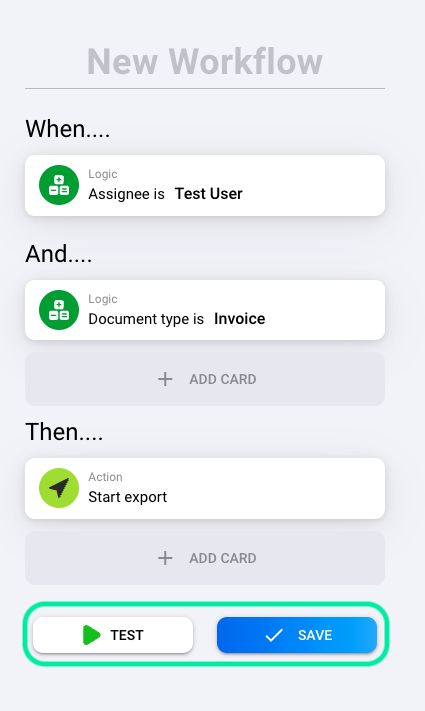
Once you have completed setting all the parameters of your workflow, you have the options to either TEST or SAVE the workflow.

Feel free to explore the options available to you with this feature by DocBits and see how workflows can streamline your operations and boost your efficiency!