You will need to create the DocBits API connection point in order to create the data flow later.
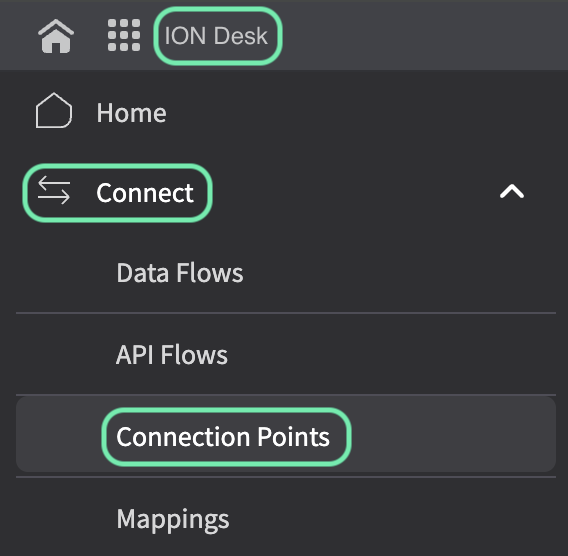
First, in InforOS, navigate to ION Desk → Connect → Connection Points
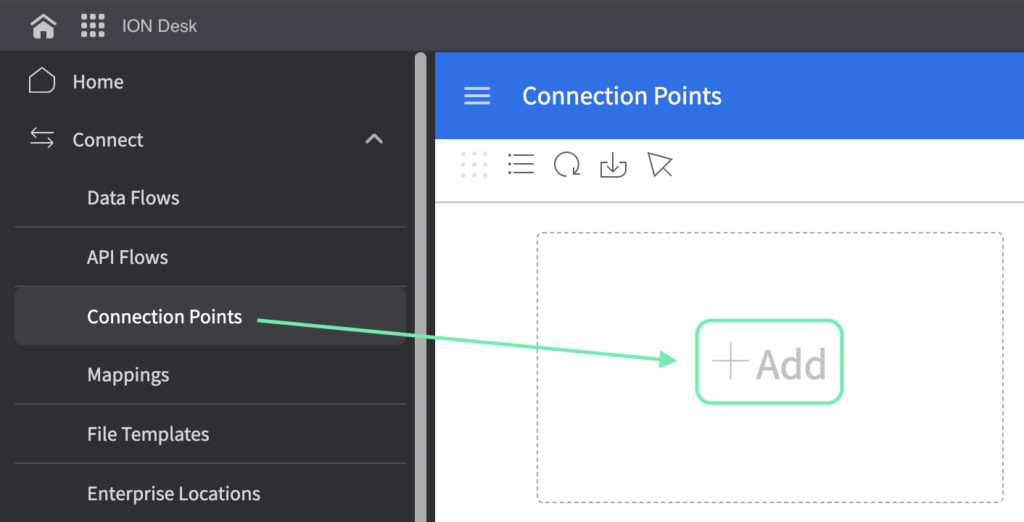
Once here, you will need to create a new connection point.
Select API
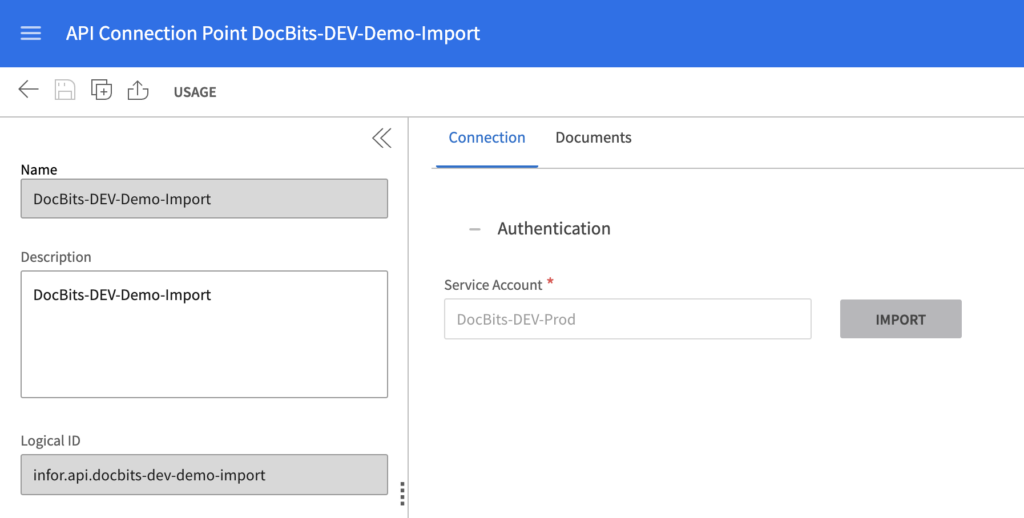
Give the connection point a name and description that describes its nature and its environment. Under the Connection tab, import the service account you created for the environment you are working with.
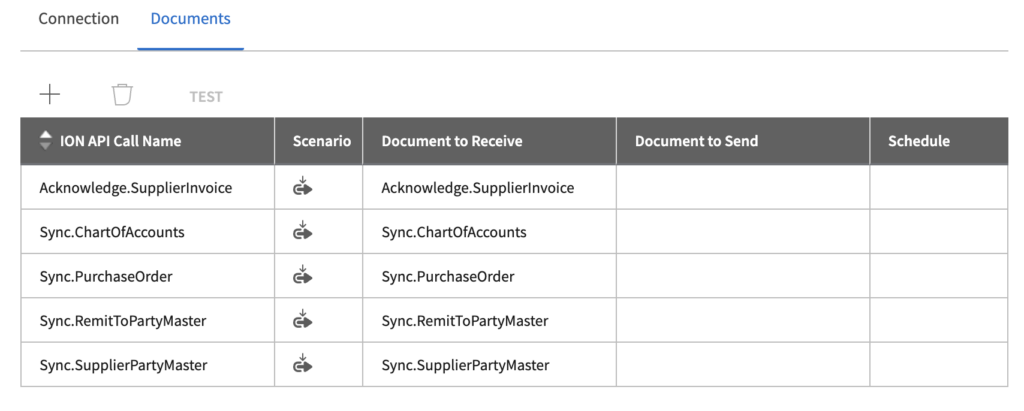
Next, switch to the the Documents tab. You will need to add the following BODs to the connection point, not all are necessary for the supplier and purchase order mater data but will be useful when other features such as Auto Accounting need to be implemented.
For now we will only focus on the necessary BODs, these being: Sync.RemitToPartyMasterData, Sync.SupplierPartyMaster and Sync.PurchaseOrder.
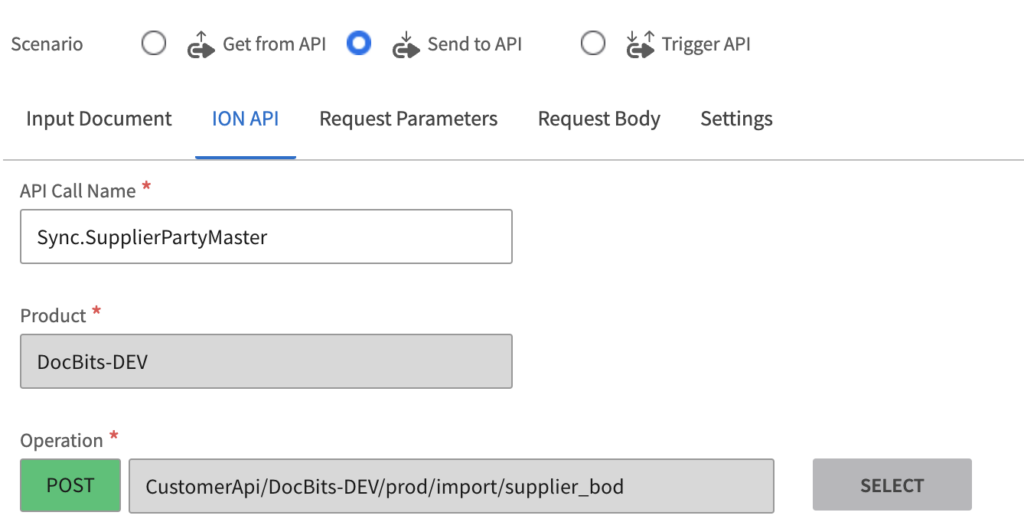
Sync.RemitToPartyMasterData and Sync.SupplierPartyMaster
The configuration for these two BODs should look similar to the following (API Call Name changing for each)
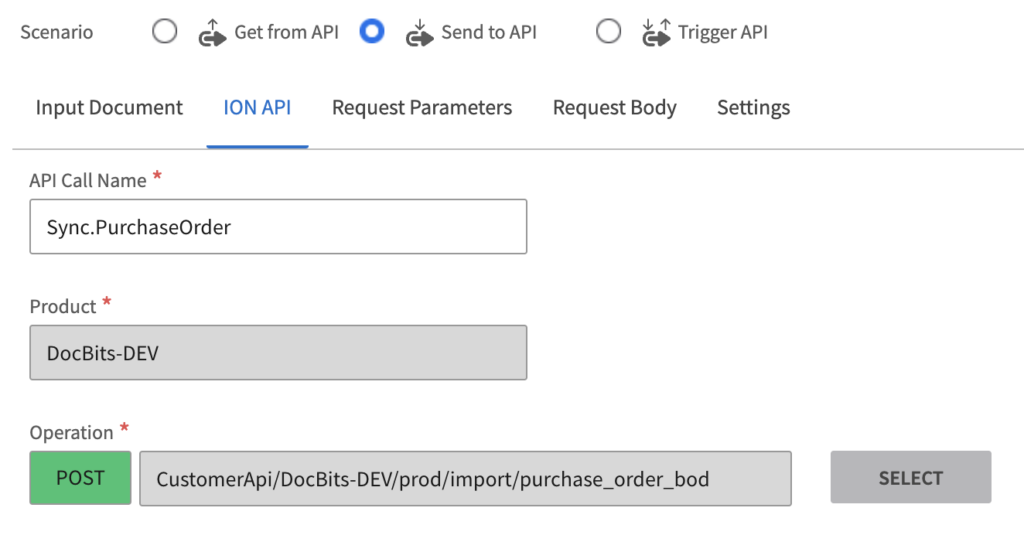
Sync.PurchaseOrder
The configuration for this BOD should look similar to the following
Once these BODs are configured, you can save the connection point by pressing the icon located right to the back button.
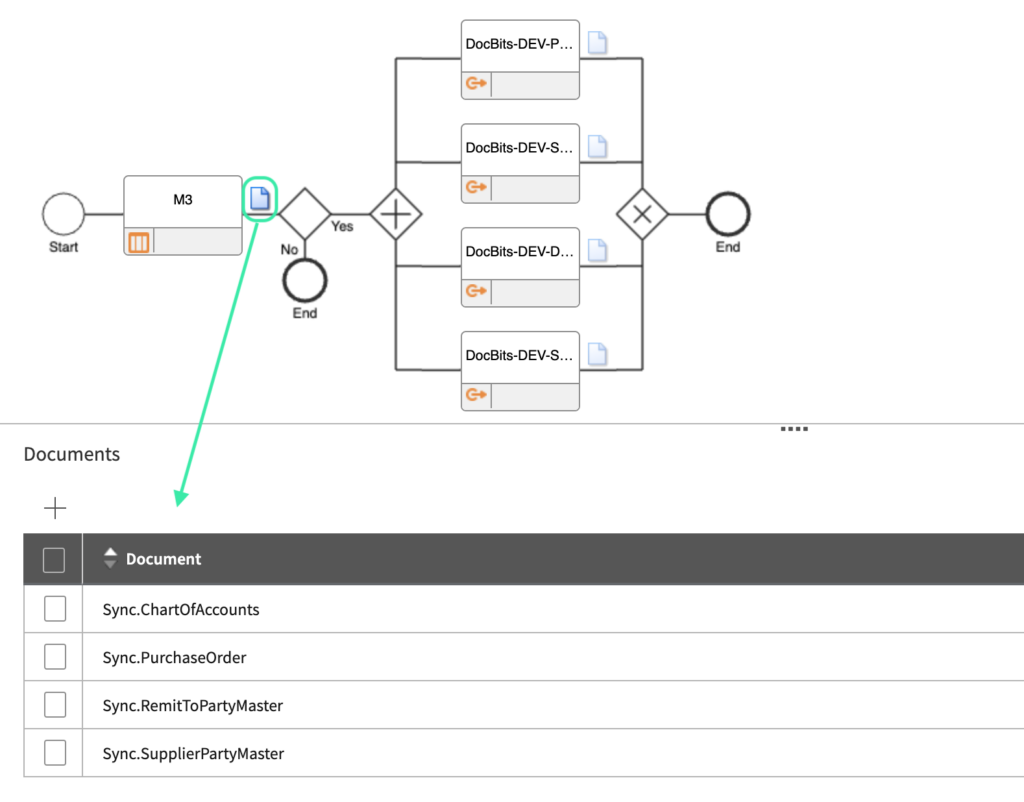
Data Flow
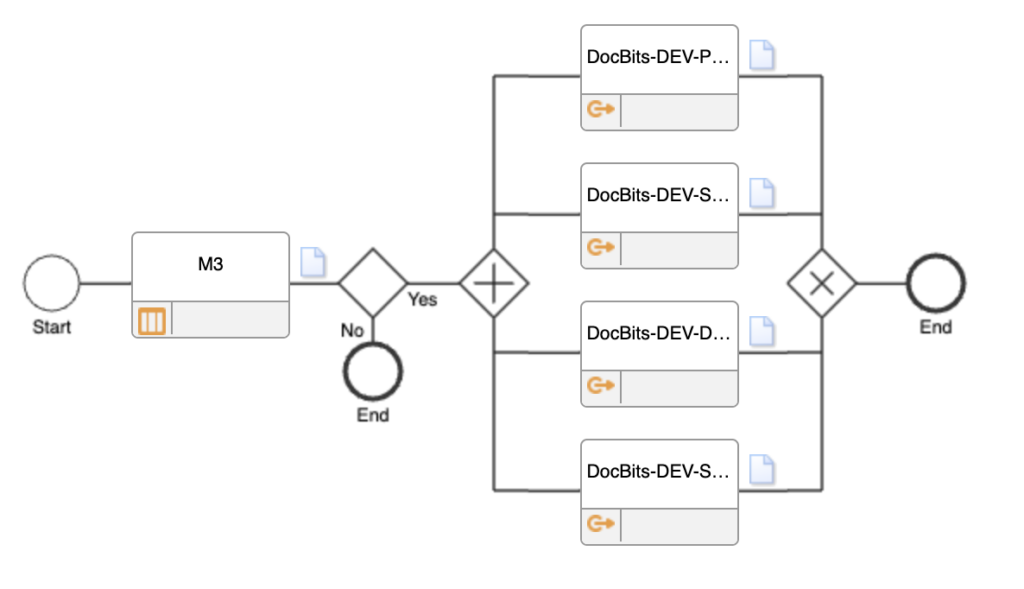
The data flow will look similar to the following
(The reason for multiple DocBits APIs is due to each connection representing a different environment meaning, depending on the amount of environments you have, your data flow could differ slightly)
For the purpose of this explanation we will use the example of having four separate environments.
M3
The start of the data flow consists of your M3 application
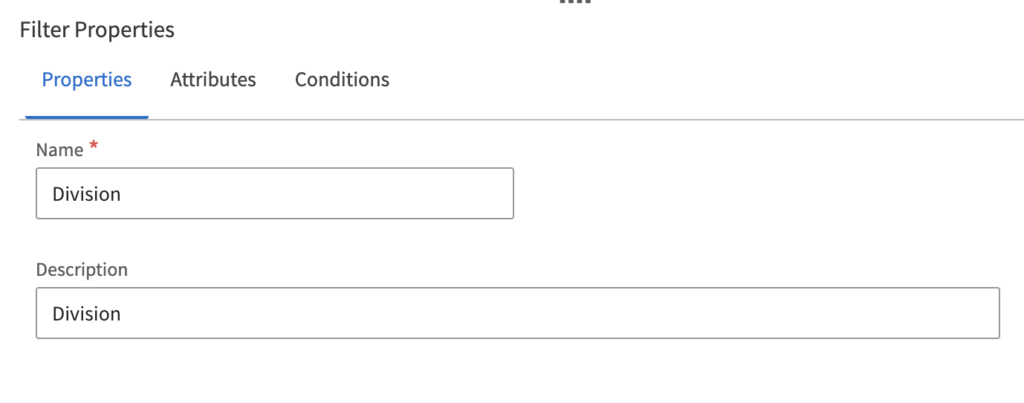
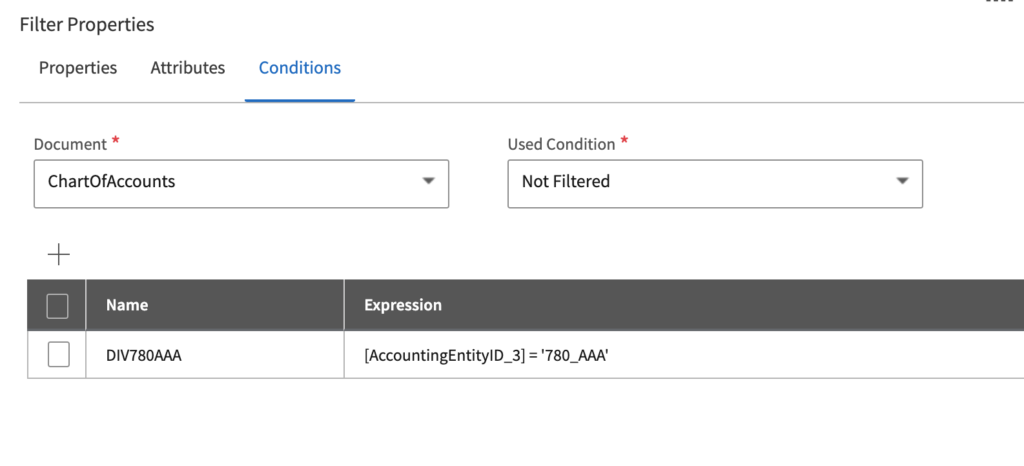
Filter
Configuration of the filter looks as follows
(The accounting entity ID of course being unique to your organisation)
DocBits API
Here you will add an application and select the DocBits API(s) you created earlier
Files
The configuration should look as follows
M3 BOD Triggering
Navigate to the Infor M3 application
Once at the main menu, type Command + R to open the command prompt search box. Then type evs006 and search.
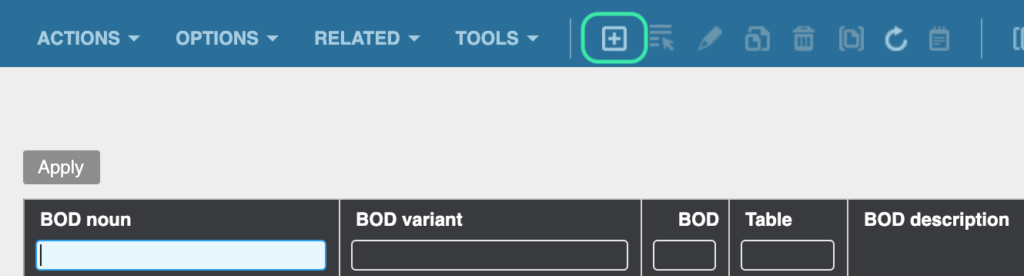
Once on this page, you will need to add the SupplierPartyMaster, RemitToPartyMaster and PurchaseOrder to the list.
BOD noun: SupplierPartyMaster
Table: CIDMAS
BOD noun: RemitToPartyMaster
Table: CIDMAS
BOD noun: PurchaseOrder
Table: MPHEAD
For each case you will need to press the plus icon to add them to list.
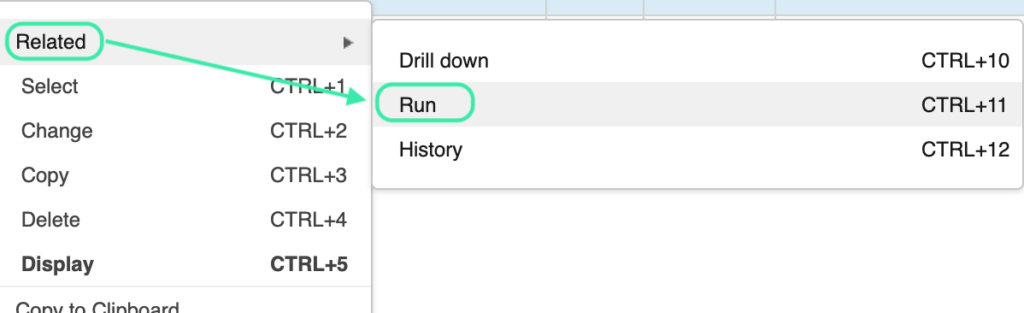
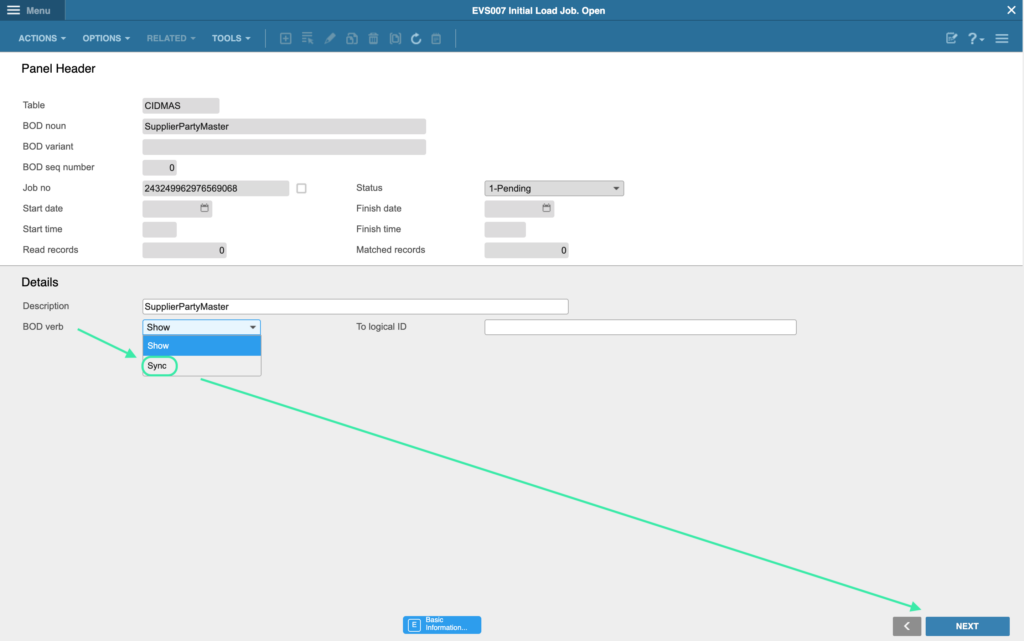
After you have added each of the BODs, right click on the BOD noun of the BOD and select Related → Run
You will be taken to the following menu, where you will need to change BOD verb to Sync and then press NEXT to trigger the BODs.
Once you trigger the BODs, you will get a notification confirming this.
If done successfully, the Supplier and Purchase Order tables should now be available under Settings → Master Data Lookup.