Annotation

Validation Screen

After uploading a document to DocBits, once it is ready for validation, enter the validation screen.

Click on the Annotation icon indicated below

By clicking anywhere on the document, while Annotation mode is active, you will create an editable section like this

  • Edit button

This option (the pencil icon) allows you to add various annotations to the document. Once clicked, the following menu will be displayed.

Here you can type text, change the font, change the character size, add bold and italics, as well as change the colour of the text for the annotation you wish to add. For example, If I wish to have the word “TEXT” in RED indicated on the document, it would look as follows.

Then simply press the SAVE button indicated below

The result will look like this

From here, you can move the annotation freely around the document so that it is placed where you would like it to be.

  • Save Button

Once you have created your annotation and moved it to your desired location on the document, press the SAVE icon like below

  • Delete Button

If you wish to delete an annotation, simply press the DELETE icon indicated below

Approval

When approving a document, there are slight changes to the annotation system. These are explored below.

Once you upload your document to DocBits, validate it and attempt to export it. If you have Approve before Export enabled in the settings, you will need to first approve the document before it gets exported. This screen will look like this

You have the following tools when it comes to annotations on this approval menu

  • Stamp Icon

This is the icon on the far left, it gives you the option to add a stamp to the document. When clicked, you be given a drop-down menu of stamp options to apply to the document.

Select the stamp you wish to add to the document and then click the ADD button

A stamp, like the one above, will be added to the document. From there you can change the size of the stamp and where it is located on the document, once the stamp is added, the same icons and functions are present as there were on the validation screen.


  • Text Annotation

By clicking the text annotation icon like below

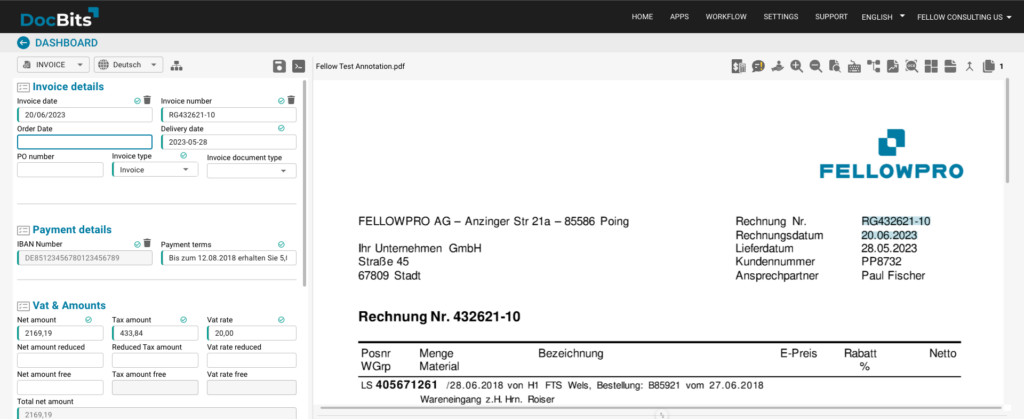
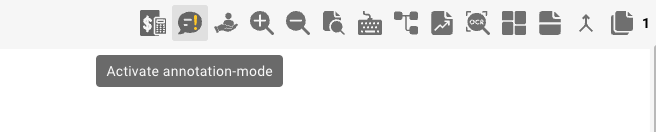
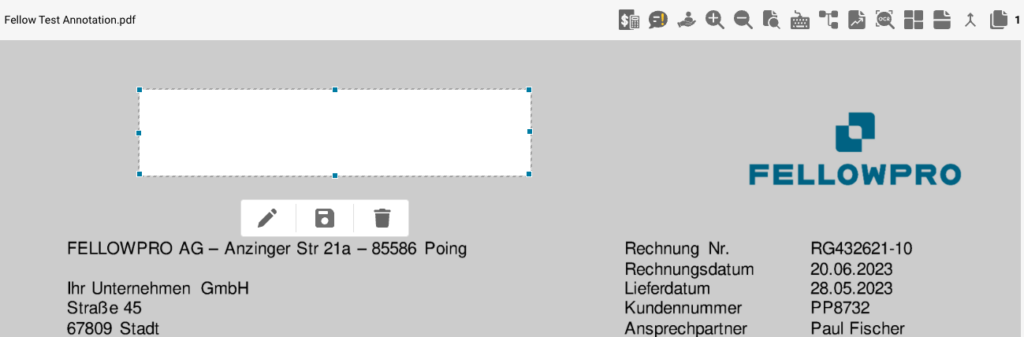
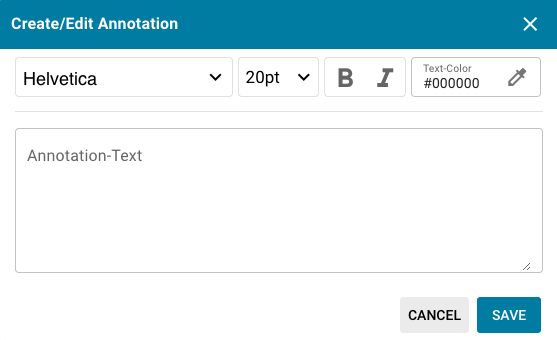
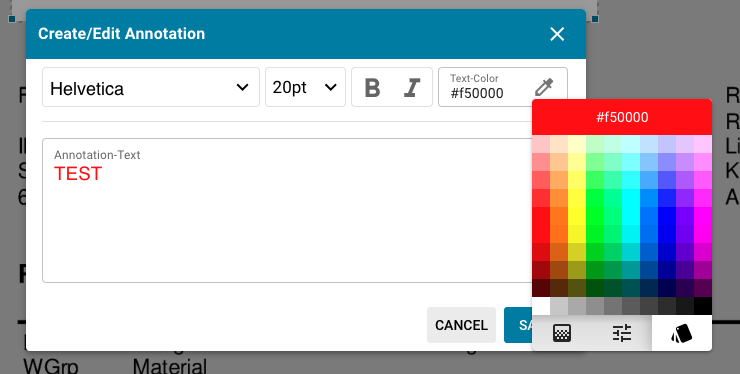
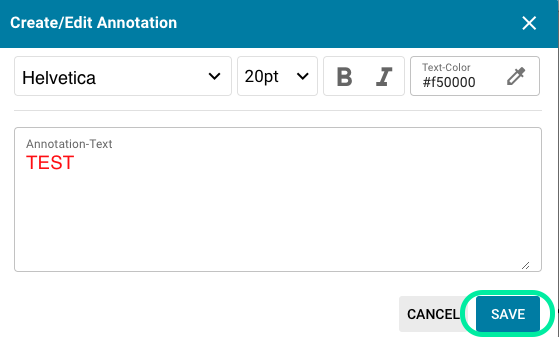
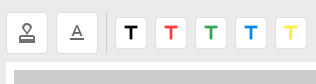
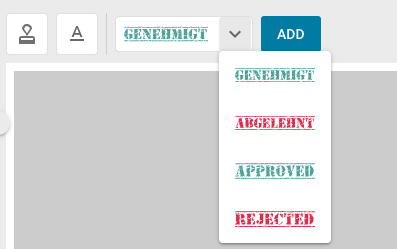
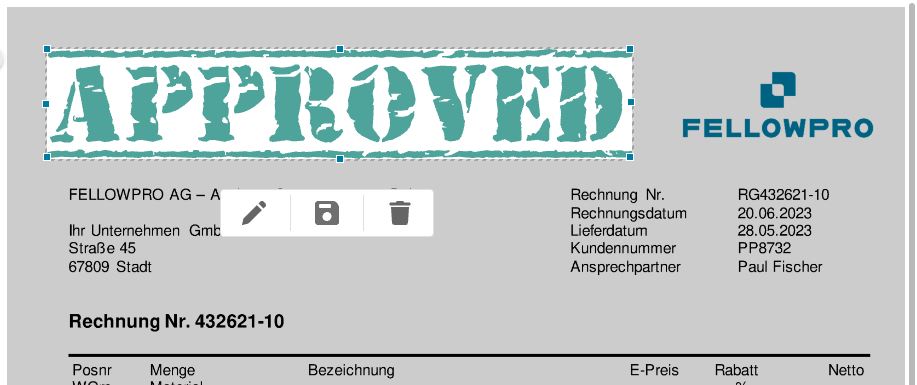
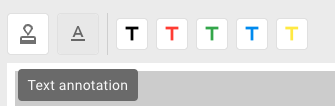
You will be given the same functionalities as were present on the validation screen annotation mode, the only difference here is that we have provided shortcut options to the right of the button. The multi-colored “T” icons can be used to quickly add annotations in the color represented by the icon, to ensure as little time is wasted when processing your documents.

Table of Contents