After you have uploaded a document as described here and perform the following steps to validate it:
1. Go to HOME where you will find the DASHBOARD with uploaded documents
2. Click on the bar to open the document. In this case it doesn’t matter if you click on the document name or the status.
On the right-hand side, you can see the documents preview, where you can also jump from one to the other page when you document has more than just one page. In the middle part of the screen, you have the big overview of the document where you can also see the extracted values marked in purple. And, finally, on the right-hand side you have all the segments of the extracted values.
Let’s focus on this last part.
Firstly, on the top left side you can define the document origin if needed:
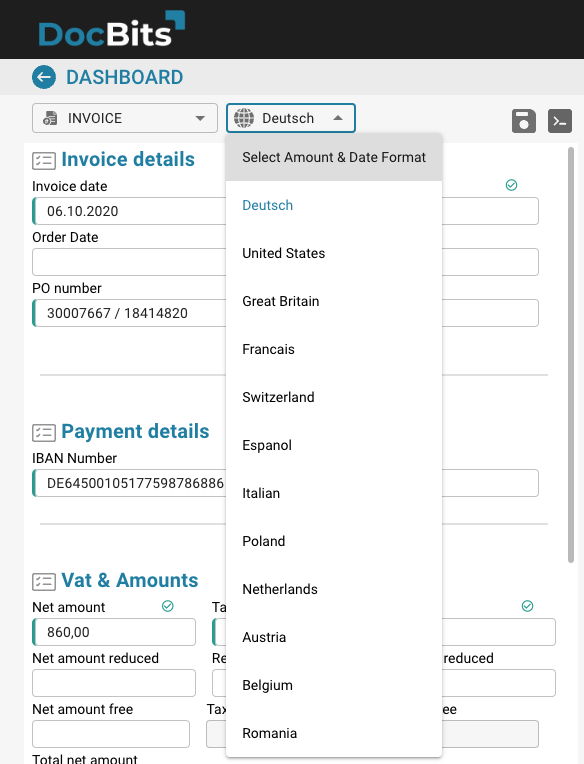
For different origins the document can have different amount and date formats. To be sure dates and figures/amounts will be extracted correctly make sure the document origin is set properly.
Now, we get the basic information like invoice number, date etc. If you click on the field of invoice number for example, you get directly marked where on the invoice it was extracted.
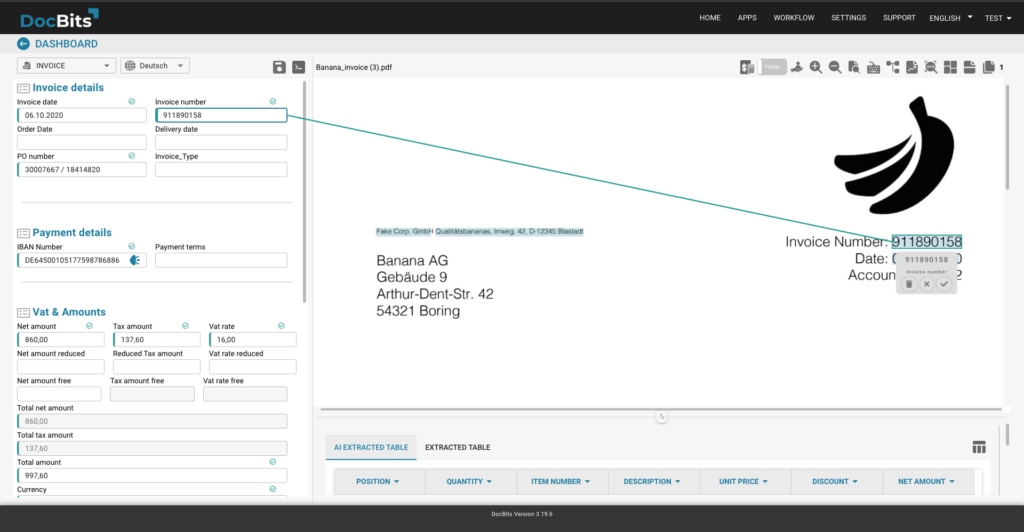
You can now check if the number was extracted correctly. All values that were correctly extracted you confirm with the checkmark. You can do this with every single field. Another important point is that on the right side of each field you get a percentage of the confidence level of the DocBits.
All values that have been correctly extracted and confirmed with the check mark will have a green bar at the beginning of the field.
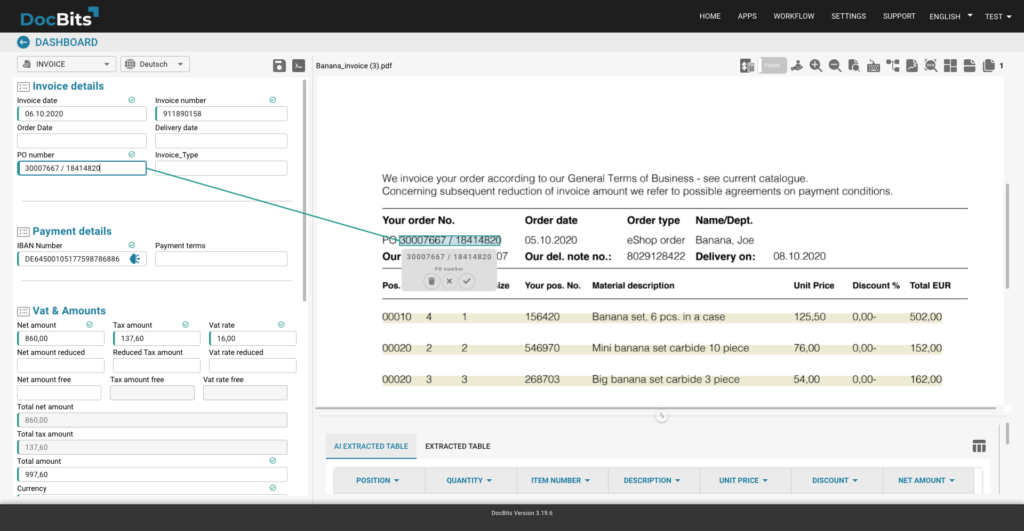
A great example is on the next segment of field IBAN, where the IBAN is not even extracted, as confidence level is equal to 0. To train and extract the value, just enter the field and mark the IBAN on the invoice. You get this message if you are sure of your selection, so click yes.

The selected value will be extracted to the IBAN field and displayed on the invoice. Please confirm the value with the checkmark to finalize it.
The procedure for each extracted or non-extracted value is always the same. Here are some examples of the values extracted from an invoice:
For the vendor details we have configured the Fuzzy search, where the supplier identification is matched by the master data imported from your ERP system. If for example the supplier’s name was missing you could also look it up in this table. Everything is set up very easily and user-friendly so this job of making the validation is faster.
After checking all the fields available for extraction, you can confirm the changes and export directly. If you have to interrupt editing, e.g. because of a last-minute appointment or a phone call, you can also save the changes you have confirmed up to that point and continue later.
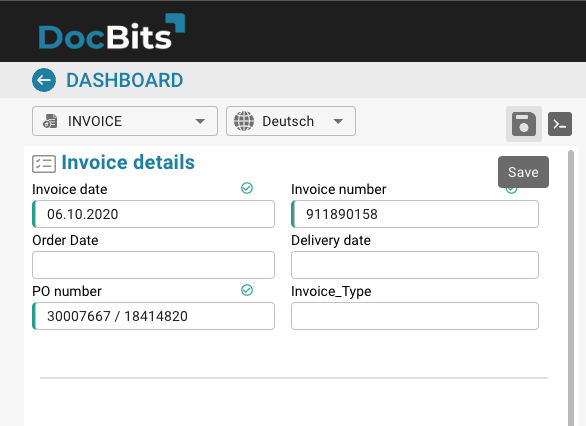
When you have saved the changes, the document remains in the Ready for Validation status.
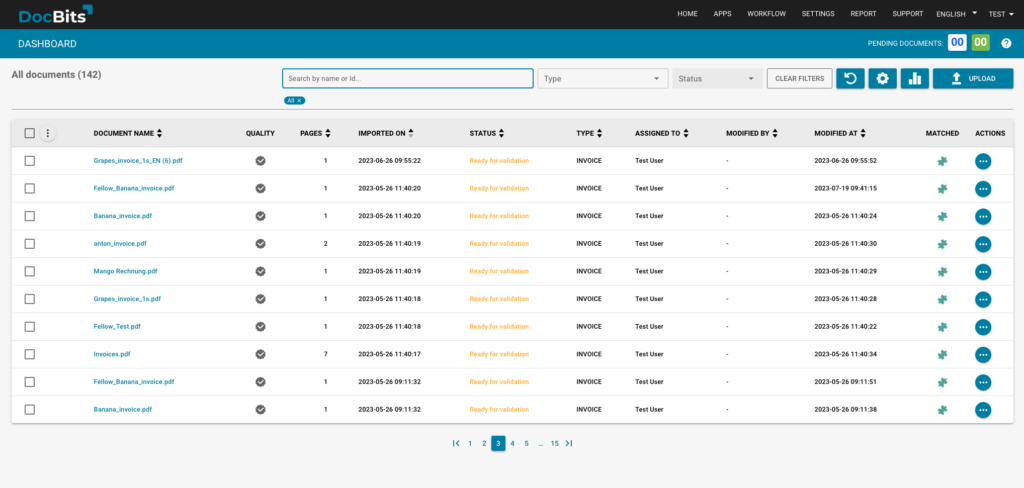
When on the validation screen of a document you uploaded, the fields that get extracted will be highlighted in either green or red as below
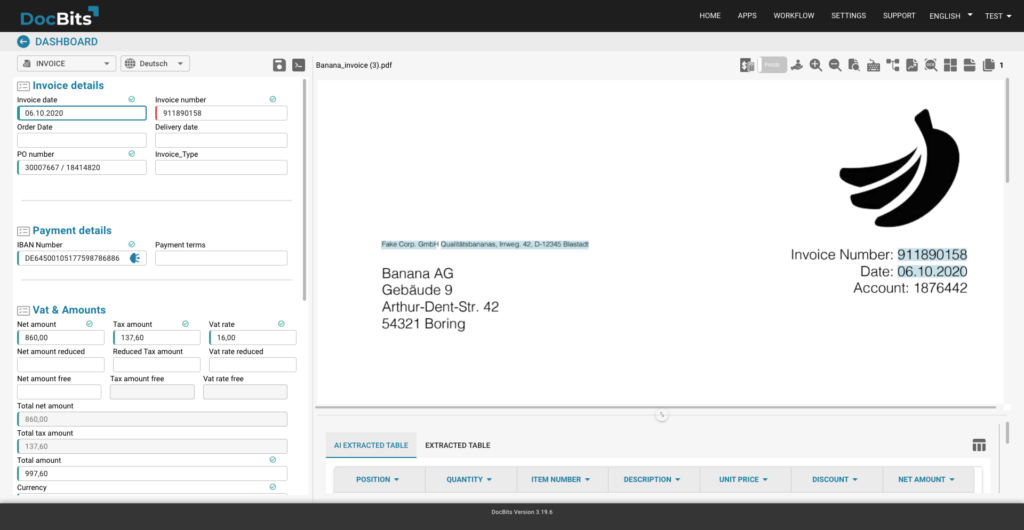
If a field is extracted and DocBits is confident that the value extracted is correct, the field will be highlighted in green.

If a field is extracted and DocBits is not confident that the value extracted is correct, the field will be highlighted in red.

These indicators are included in order to make the validation process of document less time-consuming as the fields that will most likely require your attention (fields highlighted in red) are clearly displayed to you.
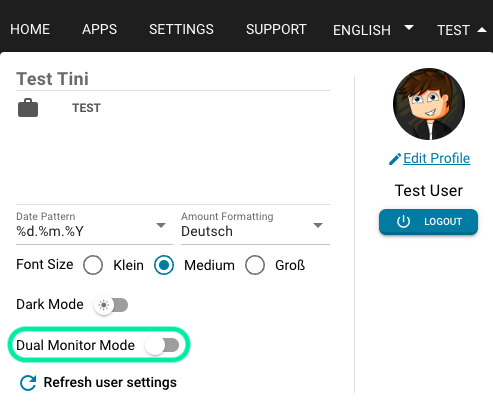
If you have two additional monitors setup with your machine, we have created this feature for you. This allows you to break up the validation screen to be split among your available monitors. For example, one one screen you might want just the document being validated and on the other the extracted fields and layout of DocBits.
To enable the feature, navigate to the User information section of the Dashboard header.

From here you can toggle the Dual Monitor Mode on and off, as well as select the monitor configuration you’d prefer.
