To define tables and columns on a document please import a document, open it and go to the table extraction view like already known (via “Line Items”).
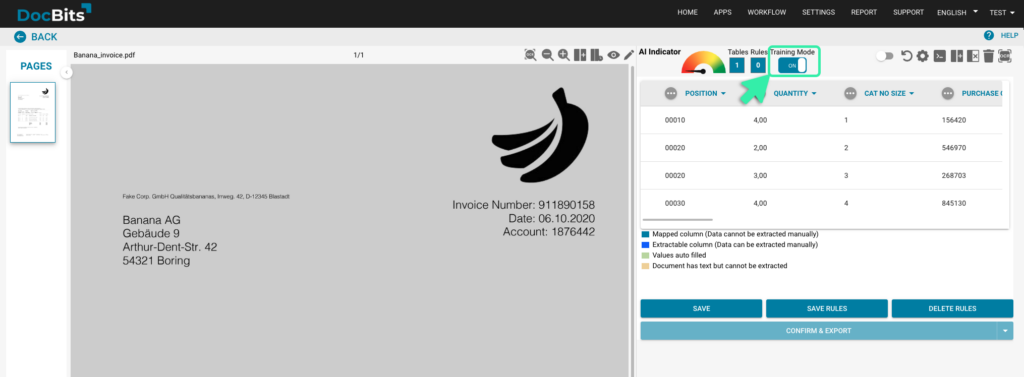
You will end up in following screen where you can activate the Training Mode:
Via the “Edit” button table selection mode will be activated and you will be able to edit the document shown on the left side:
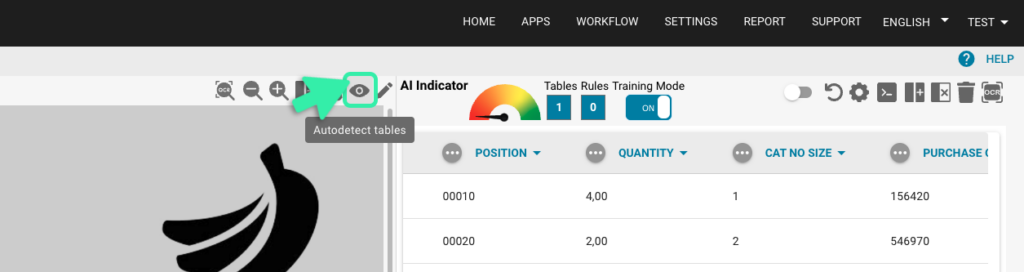
In general your are now able to use the autodetect tables functionality and the system will automatically define the tables on the document:
If the system is not able to find the tables automatically you can manually define the tables on the document like shown in the video below:
Define columns
Once the tables are defined you can manually define the columns via the following button:
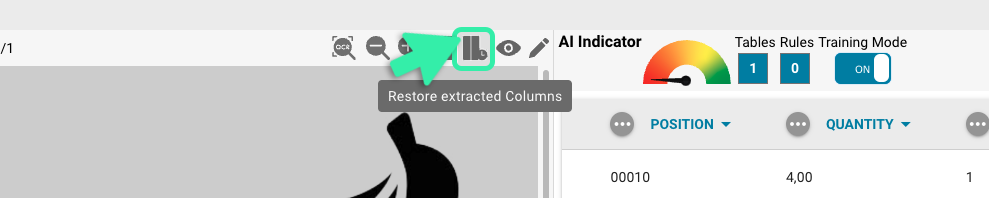
Define and sort the columns via drag and drop on the document. Repeat this for the tables on the other pages as well. As an alternative if the tables are equal on each page you can use the following button to use the same column for all tables defined in the document. This functionality copies the columns that you have defined to all other pages as well:
If the document is very confusing, it can be zoomed in and out using the “Zoom in” and “Zoom out” functionality. This is helpful, for example, when a lot of information is close together and this makes it difficult to define the columns:
If you defined a column by mistake it can be selected by clicking it and deleted via the following button:
Note: The button is only visible if the column is selected.
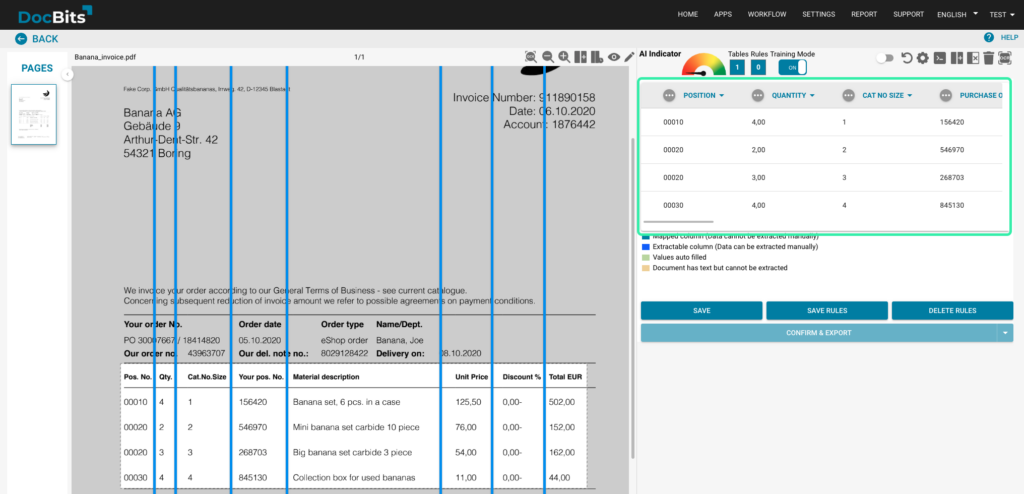
If you are done defining all tables and all columns on your document use the “Save” button to activate your changes and to extract the data from the document:
The data of all defined areas will be extracted and shown on the right side:
In the next section you will learn how to adjust the data that has been extracted.