After logging in with your credentials, you will be redirected to the DocBits Dashboard homepage. This is the main page where you can manage all your imported documents.
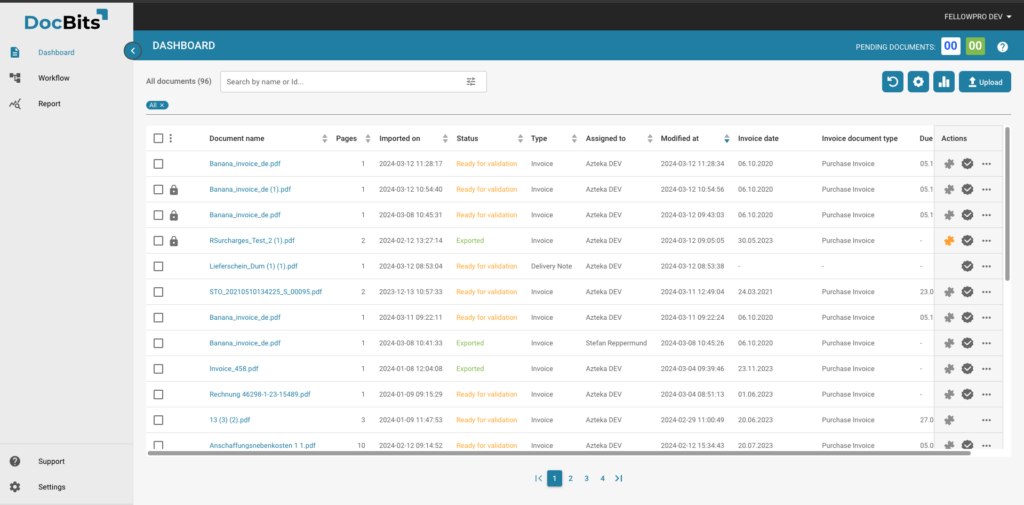
If you are looking for a specific document or documents, then you have the following available to you. Within the search bar we have provided you will various tools to find the document you are searching for, in order to access them, select the following icon.
The following filter options will become available to you.
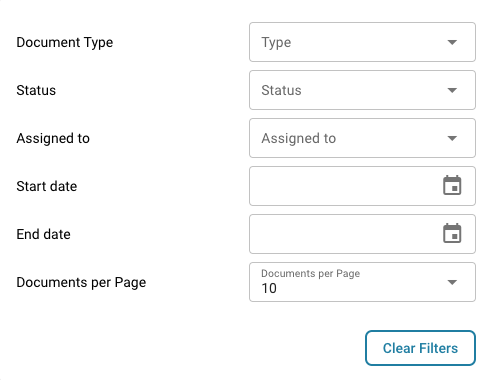
We provide you with the option to filter by document type, status of the document, the assignee of the document and by the date.
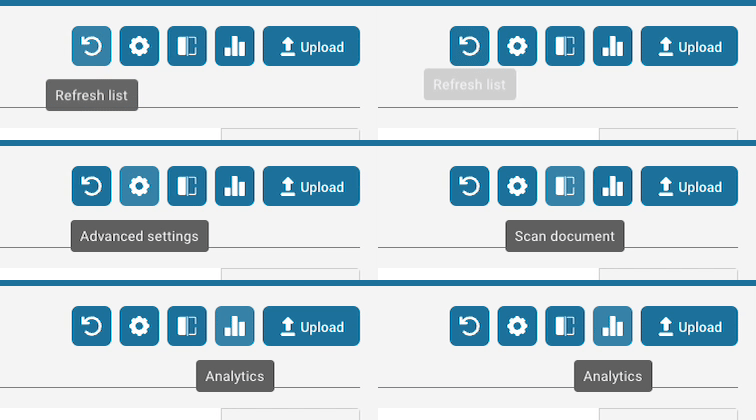
To the right of the search bar, you will find other dashboard tools
The second part of the dashboard is an overview of all the uploaded documents. You can view all documents or just the ones assigned to you. You can also search for documents by name.
To start importing an invoice manually, click on the UPLOAD button and choose the document you want to upload. You can also drag and drop files anywhere on the dashboard to upload them.
Meaningful data will be extracted within seconds, and the status will change from running to ready for validation. For more information on this topic, click here.
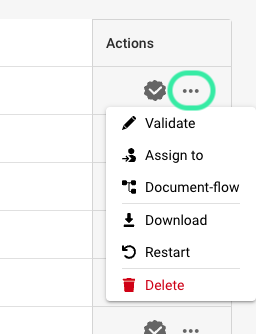
The validation screen allows you to check, edit, and validate all the imported documents. You can see the name of the document, how many pages it consists of, the date it was imported, and its status. The Actions button allows you to assign, restart, validate, or delete the document.
From the Dashboard, click on the Advanced Settings icon as shown below
The following menu will then be displayed:
Select the button labelled “Set dashboard columns for organization” and the a list of all the column names will be shown.
From this menu, you can select the column names and use the arrows to add and remove the columns you desire.
The task counter is located in the upper-right corner of the Dashboard home page.

This is where you can see how many documents are in your queue for processing

and how many documents are now ready for validation.

If you would like to see a detailed log of all documents imported to your DocBits environment, then follow these steps.
From your DocBits Dashboard, select the Advanced Settings option.

After the Advanced Settings bar appears, select the Import Log button

A table will then appear with all recently imported documents as well as other relevant information regarding them.
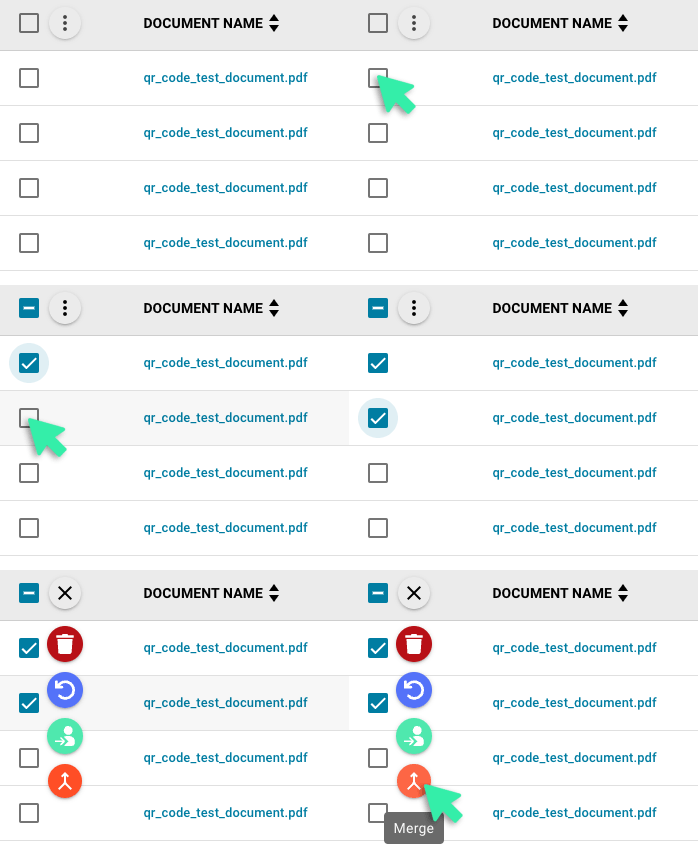
Document merging allows you to combine multiple documents for your needs and can be done by:
First, you need to select the documents you would like to merge. This can be done by selecting the checkboxes of the documents you wish to merge.
Once you have selected the documents, click on the icon with three dots.
A menu will then be displayed, select the “Merge” option which can be found at the bottom.
While navigating your documents in DocBits, if you would like to return to the main area of the Dashboard, you can simply press the escape (ESC) button on your keyboard and you will be returned to the main Dashboard menu (on the page which you entered the document you just exited from).